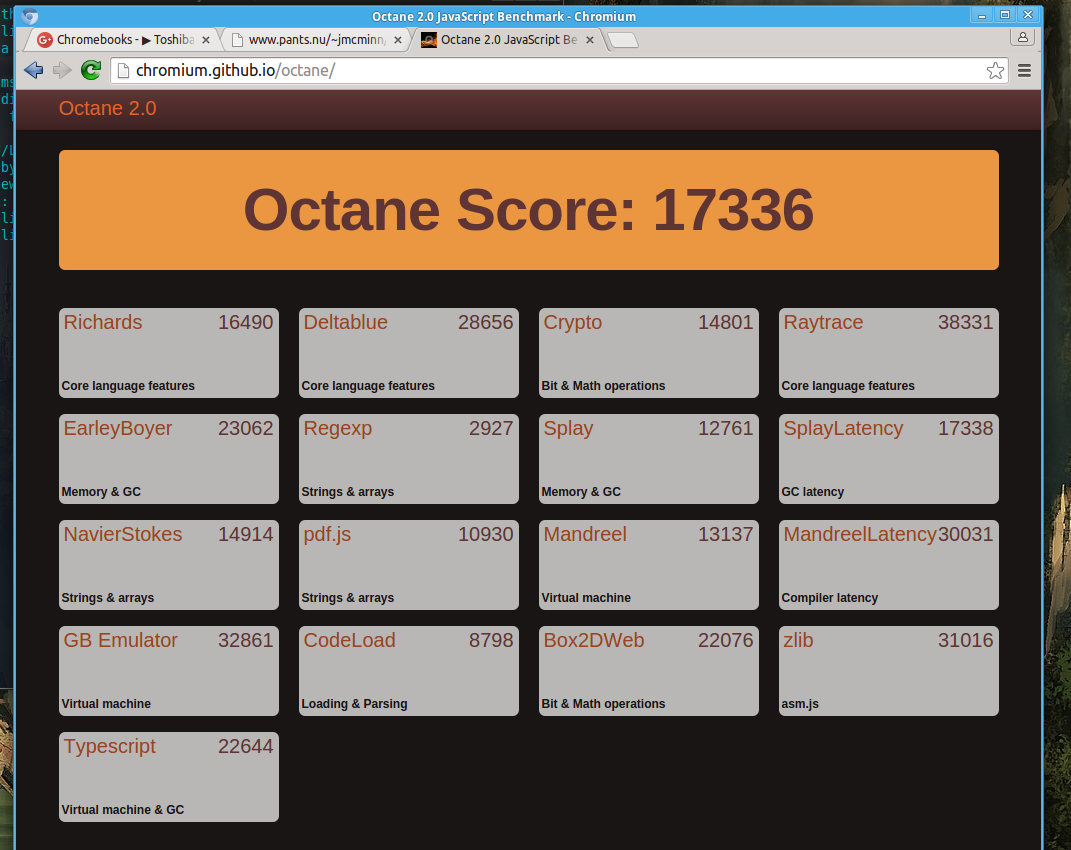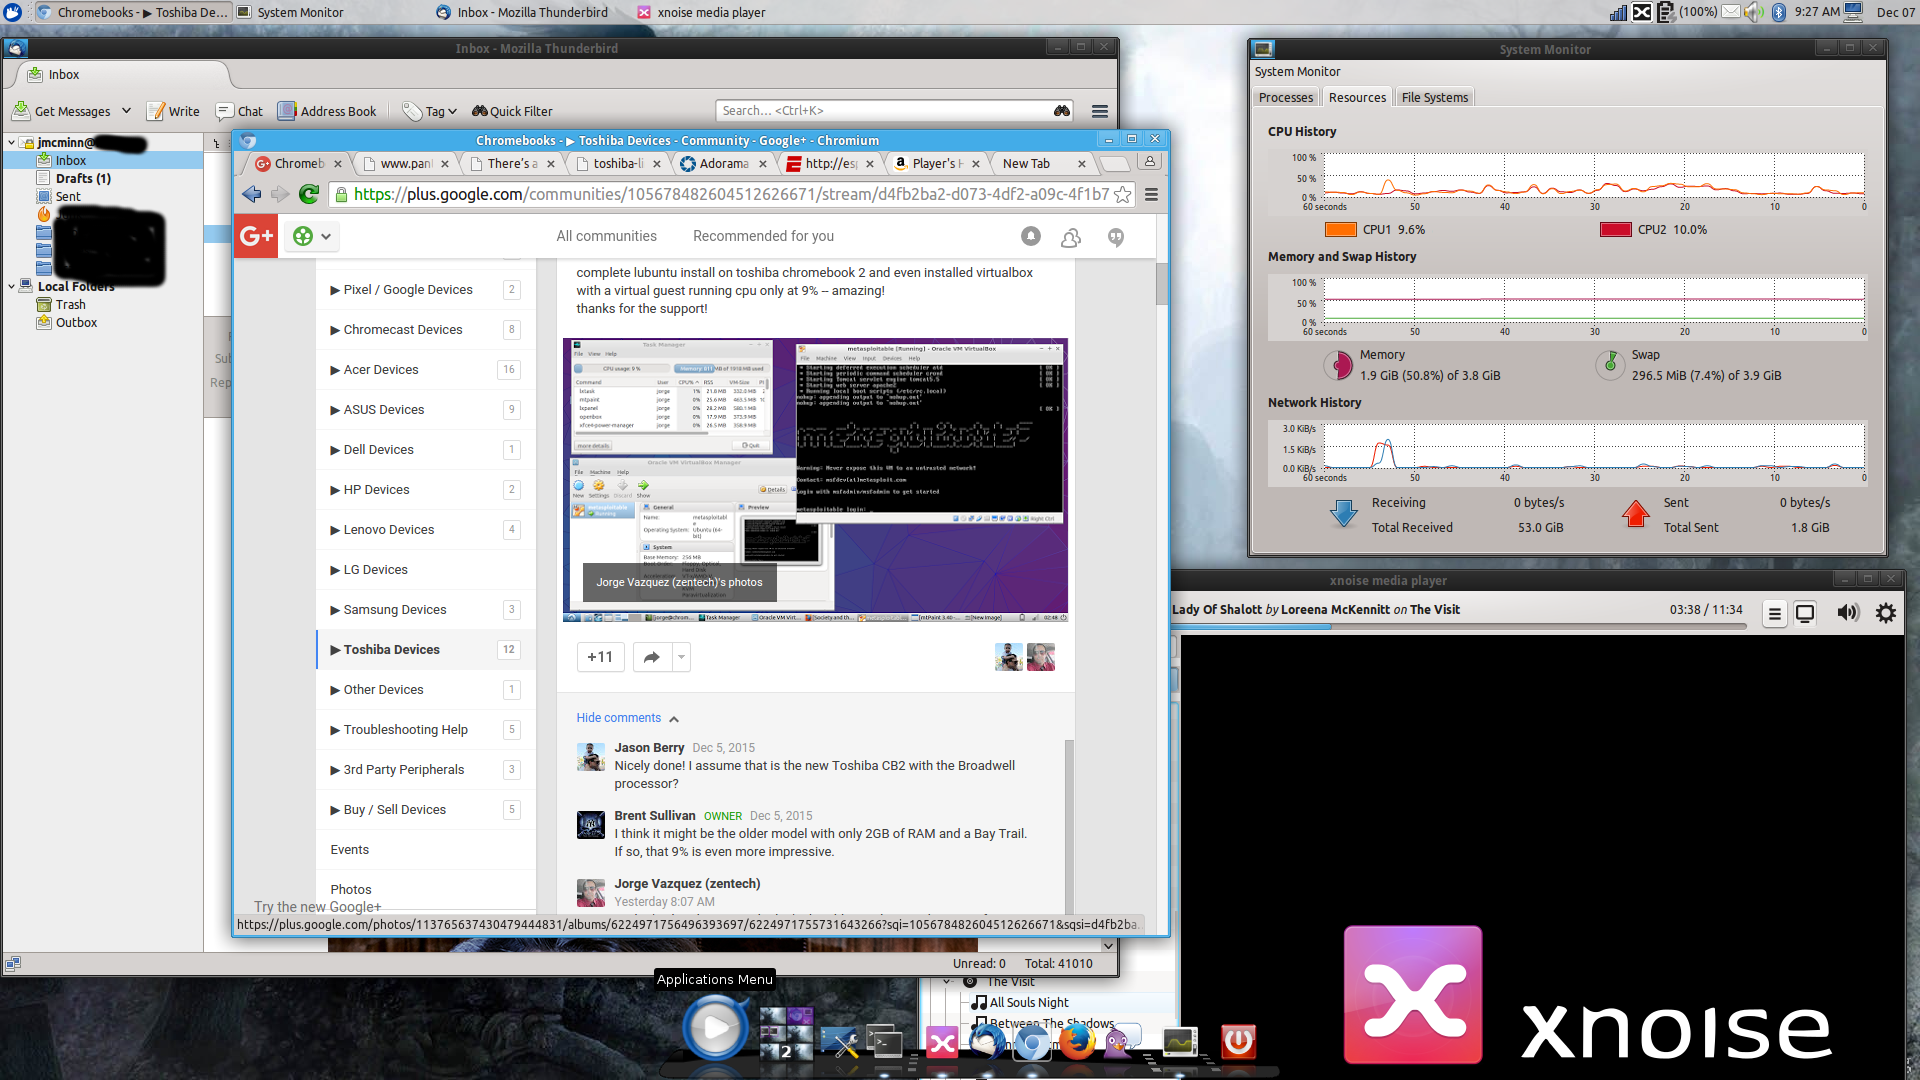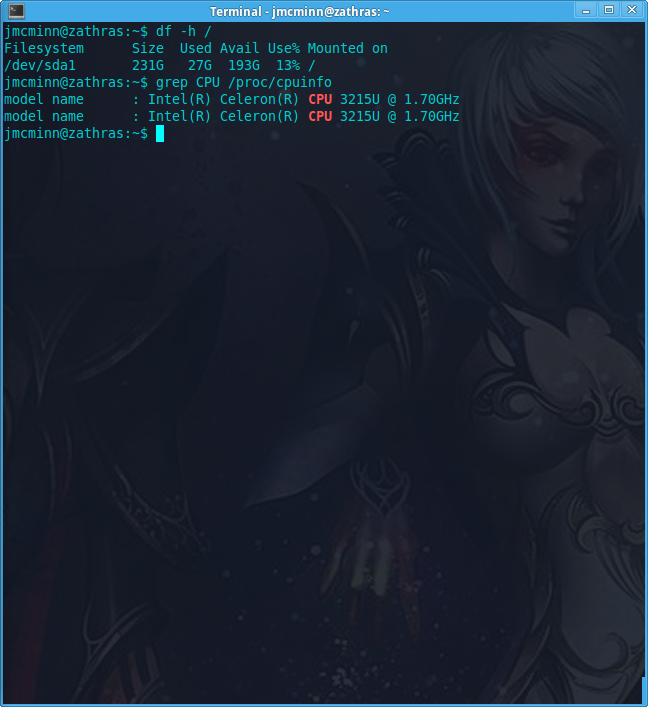
However, this package has two flaws. The first is that it has a paltry 16GB of internal storage. However, unlike its predecessor, the CB35-C3300 series uses replacable SATA III 42mm M.2 SSD drives. How much storage you need is up to you, but I added a Transcend 256GB SSD for $115. (I should point out that a linux install will easily fit in 16GB, but there isn't much room left over for files. So if you're ok using USB sticks or just want an "X Terminal", you don't need a bigger SSD.) The second "flaw", is that it comes saddled with ChromeOS. Well, ok, that may not be a major flaw for everyone, but this hardware has the potential to do so much more than ChromeOS. Fortunately, this can be rectified as well.
This guide is for people who want to run native linux on this hardware. There are plenty of crouton guides out there. Crouton is pretty awesome too. But this guide is for people who want to run linux natively instead of starting an X window manager up in a chroot. Note that this involves popping open your laptop. It's easy as such things go, but you will be looking at the internal components of the machine, so if you're not comfortable with that, I suggest the crouton path.
Note 1: I have only worked with the CB35-C3300 (Celeron). There is no reason that these instructions shouldn't also work with the CB35-C3350 (Core i3), but I have not personally tried it.
Note 2: Almost ALL of this information is available elsewhere. This guide serves as a compilation for the lazy :).
Note 3: I also assume that if you're installing linux, you have some idea of what you are doing. (I am not spending time spelling out things that are well prompted or obvious).
Also: this video, but note that the video is for a CB35-B3440, so while the outside is the same, the inside is NOT.
When you are done inside, the bottom snaps back into place, and the screws go
back in the same way they came out.
Remove the BIOS Write Protection Screw
There is a screw between the CPU and the wireless card that has a silver
metalic sticker under it. This is the BIOS write protect. You need to
remove the screw, and then scrape the sticker off gently with the flat head
screwdriver. The video in the last step shows how to remove the sticker, but
in the newer models, you don't have to dig to get to it. See this post for
photos of what it looks like in this model.
Once I removed the screw and sticker, I stuck a small square of electrical
tape over the contacts to prevent anything else in the case from shorting
across the contacts.
HINT: If you go ubuntu, the 14.04 installer throws an error about the graphics
failing to load, but if you type "help" at the resulting boot prompt, and then press enter at the subsequent boot prompt, it will boot normally. The 15.x release I tried did not accept my "help" in booting, so stick with 14.04.
[The import part is this command here (all one line):]
Replace the SSD Drive
While you're in here, the SSD drive is right next to the processor, so now
would be a great time to replace it.
Restore ChromeOS if You Added a New Drive
If you installed a new drive, you need to Restore ChromeOS (but note, that we already
made a recovery disk, so pretty much just plug the USB drive in, and follow
the prompts.)
Download Linux, And Make a Bootable USB
There are multiple paths here, but I chose ubuntu, and so I downloaded an installer, and followed the
instructions to create a bootable USB stick. (OSX instruction)
Flash the BIOS with a custom SeaBIOS
Boot into ChromeOS, and press [Ctrl]+[Alt]+[T] to get a shell. As you're
in developer mode, you can type "shell" to get a REAL shell. From there,
follow these instructions to flash the BIOS.
|
cd; rm -f flash_chromebook_rom.sh; curl -L -O https://johnlewis.ie/flash_chromebook_rom.sh; sudo -E bash flash_chromebook_rom.sh |
sudo crossystem dev_boot_usb=1 dev_boot_legacy=1 |
Once you're done, you will have to use [Ctrl]+[L] at the developer mode warning screen whenever you boot to get the legacy BIOS boot, but you can just hit enter to boot the hard drive (you don't need to press [Esc] and then choose a device to boot).


Linux On Your Chromebook Tips
So, some of this is ubuntu shaded, but the gist should be transferable to
other flavors.
Mouse/Trackpad
So, X uses three mouse buttons. Your Chromebook has one. This can be painful.
What I did was map the right [Alt] and [Ctrl] keys as middle and right click,
and then disable the soft corner because it drives me nuts:
#!/bin/bash setxkbmap -layout us xkbset m xkbset exp =m # map left alt to middle button xmodmap -e "keycode 108 = Pointer_Button2" # map left ctrl to right button xmodmap -e "keycode 105 = Pointer_Button3" # disable annoyiung soft button xinput set-prop "Elan Touchpad" "Synaptics Soft Button Areas" 0 0 0 0 0 0 0 0 # disable annoying tap action xinput set-prop "Elan Touchpad" "Synaptics Tap Action" 0 0 0 0 0 0 0 |
I set this script to run as a session launch action in my window manager.
Note: The LEFT [Ctrl] and [Alt] keys do not get mapped, only the right ones. I never use the ones on the right hand side, which are next to the track pad, so for me they make great mouse buttons.
F8 -> amixer -q -D pulse sset Master toggle F9 -> amixer -q -D pulse sset Master 3%- F10 -> amixer -q -D pulse sset Master 3%+ |
F6 -> xbacklight -dec 10 F7 -> xbacklight -inc 10 |
# enable super+up and super+down for pageup and pagedown xmodmap -e 'keycode 133 = Mode_switch Mode_switch Mode_switch' xmodmap -e 'keycode 111 = Up Prior Prior' xmodmap -e 'keycode 116 = Down Next Next' |
So, in general, shift+up and shift+down will send page up and page down respectively. However, the chrome browser, and firefox (and possibly other programs) don't listen to this map. So for them we ALSO mapped the magnifying glass key to "Mode_switch", and mapped "Mode_switch"+up and "Mode_switch"+down to page up and page down. It's a little annoying because shift+key works in some programs, but not mode_switch+key, and then in other programs it is reversed. However, this is still better than not having pageup and pagedown.
sudo apt-get install laptop-mode-tools |
Much of this just works, but the auto backlight adjustment does not. You need to edit /etc/laptop-mode/conf.d/lcd-brightness.conf and make changes as follows:
# turn on brightness control CONTROL_BRIGHTNESS=1 # set the backlight brightness of AC power state change BATT_BRIGHTNESS_COMMAND="echo 93" LM_AC_BRIGHTNESS_COMMAND="echo 937" NOLM_AC_BRIGHTNESS_COMMAND="echo 937" BRIGHTNESS_OUTPUT="/sys/class/backlight/intel_backlight/brightness" |
To set it up, I did this:
tar zxvf backlight-driver.tar.gz cd chromebook_keyboard_backlight_driver make sudo cp chromeos_keyboard_leds.ko chromebook_kb_backlight.ko /lib/modules/`uname -r`/kernel/drivers/platform/chrome/ sudo depmod -a sudo insmod chromeos_keyboard_leds.ko sudo insmod chromebook_kb_backlight.ko |
You'll want to add "chromeos_keyboard_leds" and "chromebook_kb_backlight" to the end of /etc/modules so that they load automatically. Now that the driver is installed, you need to make it actually work. My zipfile includes code for keyboard_brightness (replacing the shellscript in the original source). I did this so that we can make it setuid, so that you don't need to be root to change the keyboard backlight. To do this:
sudo cp keyboard_brightness /usr/local/bin sudo chmod u+s /usr/local/bin/keyboard_brightness |
Now all you have to do is map keys to the script. I chose to do this:
Ctrl+F6 -> /usr/local/bin/keyboard_brightness down Ctrl+F7 -> /usr/local/bin/keyboard_brightness up |
(You may prefer to use off and on instead of down and up if you just want a switch).